Apps
Blink Shell £19.99 from the App Store
Prerequisites
Digital Ocean Account
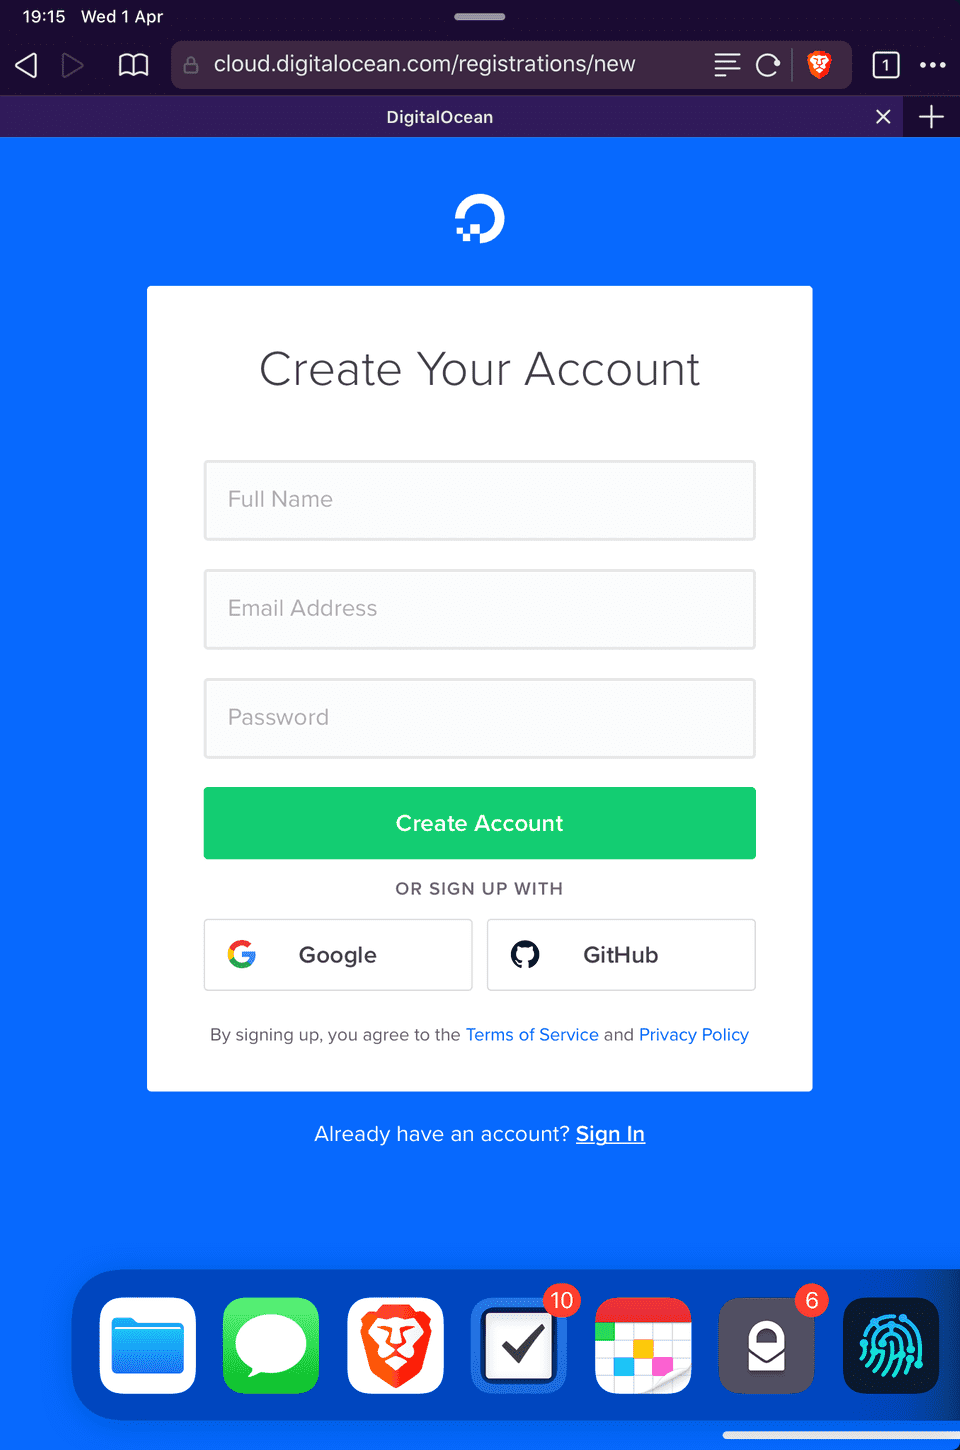
For this tutorial we will be setting up a Virtual Private Server(VPS) on a digital ocean droplet, for that you will need a digital ocean account. Digital Ocean is free to sign up for and often has a promotion where you will get free credit for doing so, so its a great place to try out setting up your own VPS!
Download Blink Shell
As above for this tutorial you will need to purchase and setup Blink Shell on your ipad.
Introduction
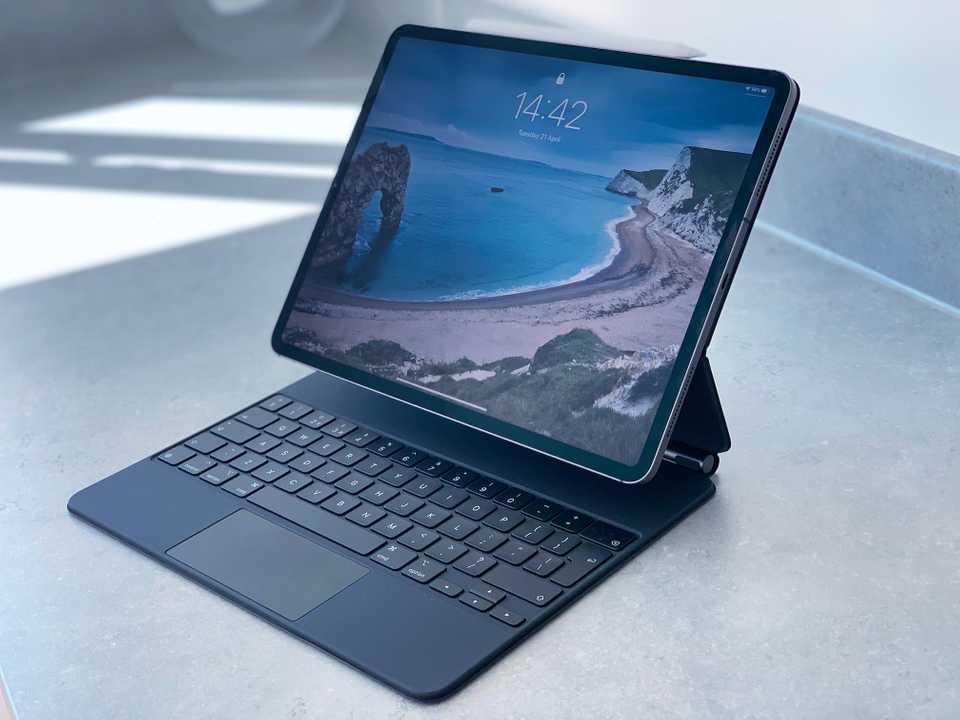
Let’s just address the elephant in the room first - Developing on an ipad is not the same as developing on a laptop or desktop, period. Although the Ipad Pro is an extremely capable machine, PadOS for now is pretty limited on what you can do with all that power, particularly as a developer who wants to compile code, and run sometimes multiple servers locally. So why bother? for me my ipad is my favourite piece of hardware, i use it to manage my day to day life, in and out of work and with PadOS 13.4 bringing trackpad support to the IPad, its becoming my go to for most tasks - just not fulldevelopment, yet. But that doesn’t mean its no possible, yes there are some trade offs, but if you are like me and you like a challenge why not embrace the challenge and maybe learn some things along the way, so lets get started.
Getting Started
Although this workflow may not be for everyone the purpose of this guide is to document how I use my ipad for developing Front and Backend JavaScript applications, so lets get started.
First if you will need to sign up for a digital ocean account if you don’t already have one , it’s free to sign up and you can use your google or github account. providing you choose a low tier droplet it shouldn’t cost you in more than a few pounds per month to host the environment .
Setting up the digital ocean droplet
Once you have confirmed your account you should see the dashboard below, choose get started with a droplet. For this guide I will use Ubuntu (18.4 at the time of writing) , select standard starter plan and most **importantly **when you are asked to select a plan, scroll to the left to see the cheaper plan options, default is $40 per month which is far too much for our use case. Scroll along to select the 1gb or 2gb ram plan, stick with the no block storage plan and choose the region most applicable to your location .
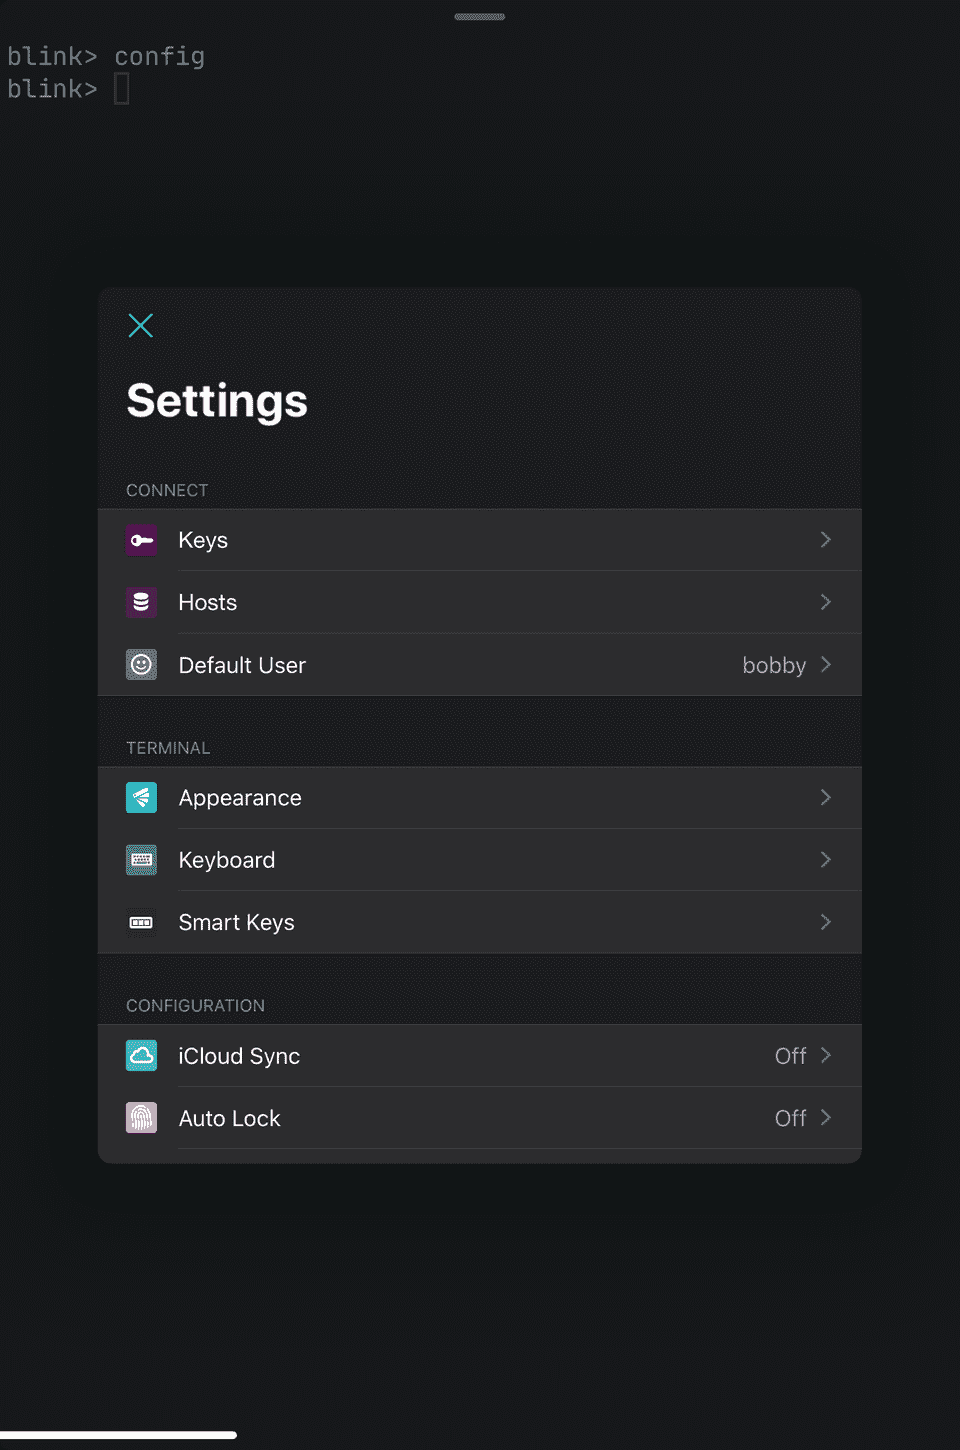
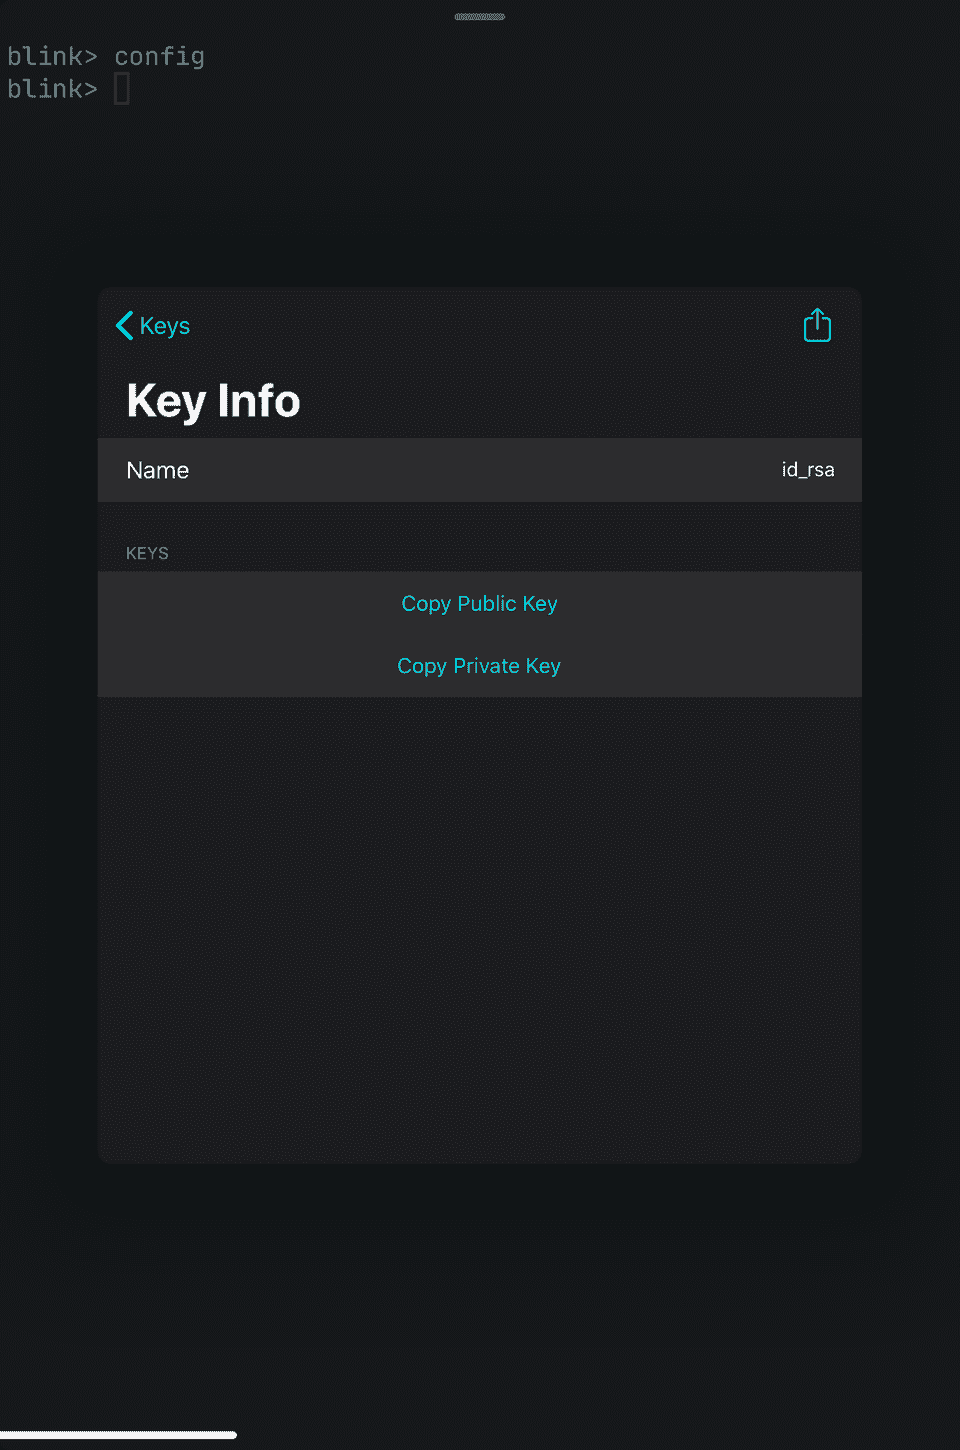
In the authentication section , select SSH, if you have just signed up to digital ocean you will need to add a new ssh key. If you downloaded Blink as noted above open the app and type config into the command line, select keys and then click on your current key. From their, Copy the public key to your clipboard.
Back on Digital Ocean, select add new ssh key then paste in your ssh key copied from blink.
finally, keep it as 1 droplet, if you wish to rename your server you can, for now there is no need to select backups, now select create droplet and wait for Digital Ocean to create your instance, this should only take a minute or so.
Once your droplet has been created you should see the IP Address on the droplet screen. Copy this and switch over to Blink
Each new droplet instance will be created with a root user, to sign into your newly created instance use the syntax below
ssh root@my.new.ip.addressall going well you should now be signed in to your digital ocean droplet! Congratulations! If you are anything like me this felt like a big win the first time I was signed in to a cloud instance from my ipad.
From here there are a number of things we should do to improve the development experience and keep the instance secure.
Mosh
.One of the biggest problems developing on an ipad is that as soon as blink is placed in the background the ssh connection will time out meaning we have to reconnect every time we switch back to blink, thankfully we have the excellent mosh to help with this. Mosh support comes out of the box with blink but we need to configure the VPS to allow mosh connectivity. You can read more information on mosh here - Mosh
ssh into your droplet as root user if you are not already inside. From here run each command below one at a time
sudo apt-get install software-properties-common
sudo add-apt-repository ppa:keithw/mosh
sudo apt-get update
sudo apt-get install mosh
When asked if you want to accept the install type yes .
Now that you have installed mosh, you are all set to use it. Exit the vps so you are back to blink terminal, instead of typing ssh root@my.ip.address you can now use mosh root@my.ip.address and you are good to go. There are some differences when using mosh in place of ssh. Digital Ocean have a helpful guide on using mosh on a VPS which you can find here - DO Mosh on a VPS
Firewall
Now that we have configured mosh its recommended that we setup a firewall for our vps, you can do this on the VPS however because we are using digital ocean we have the ocean of using the free firewall DO provide which has the added benefit of stopping any unwelcome traffic before it reaches the VPS.
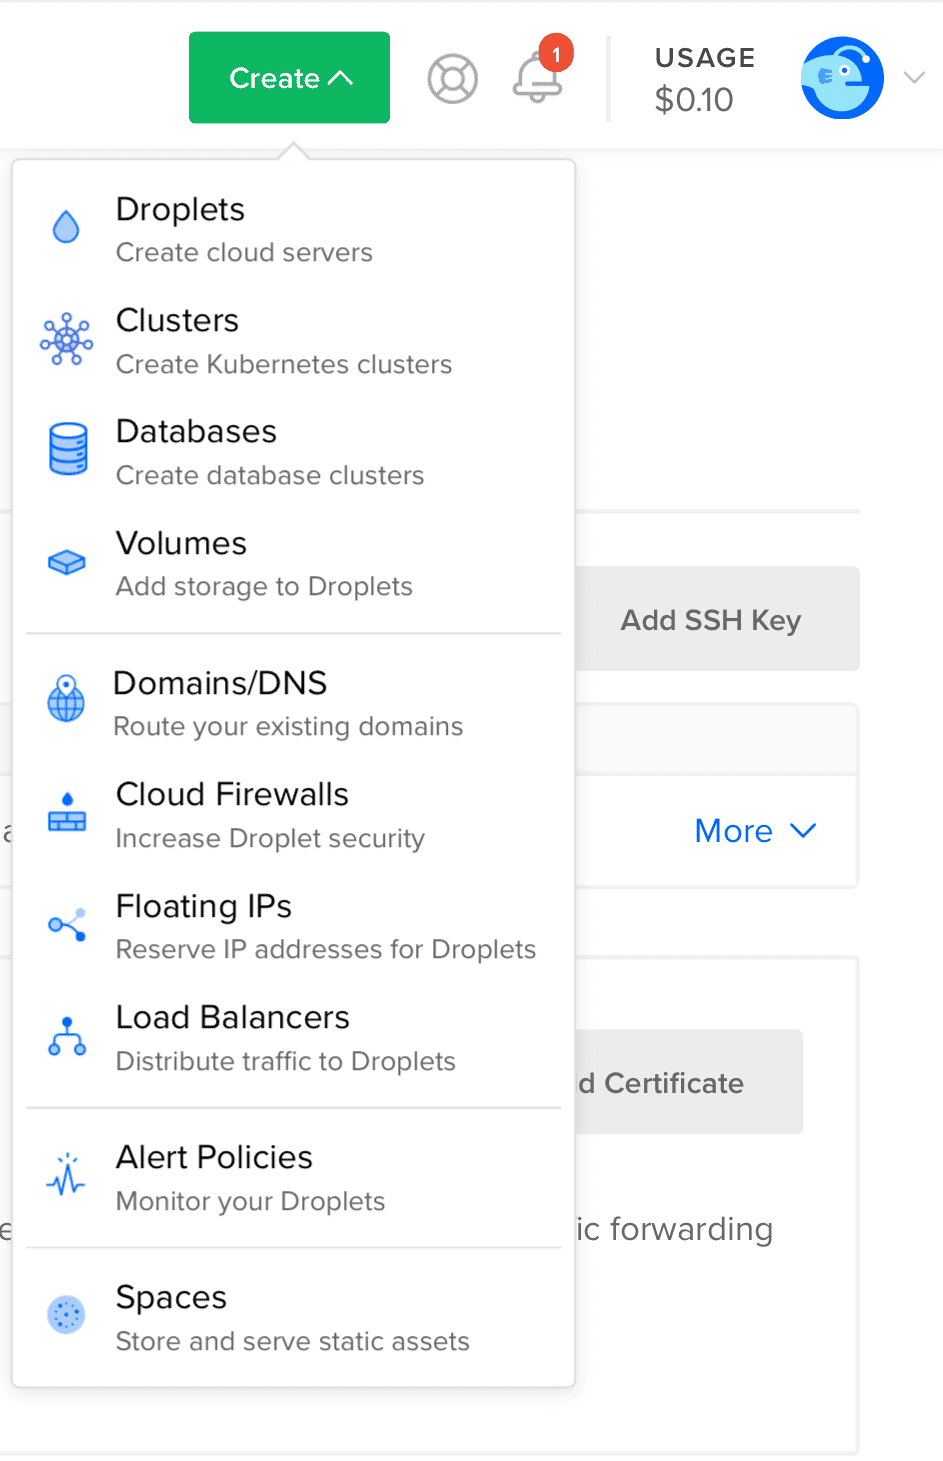
Sign in to digital oceans dashboard, on the top right hand corner select the create button, scroll down to the option titled cloud firewalls.
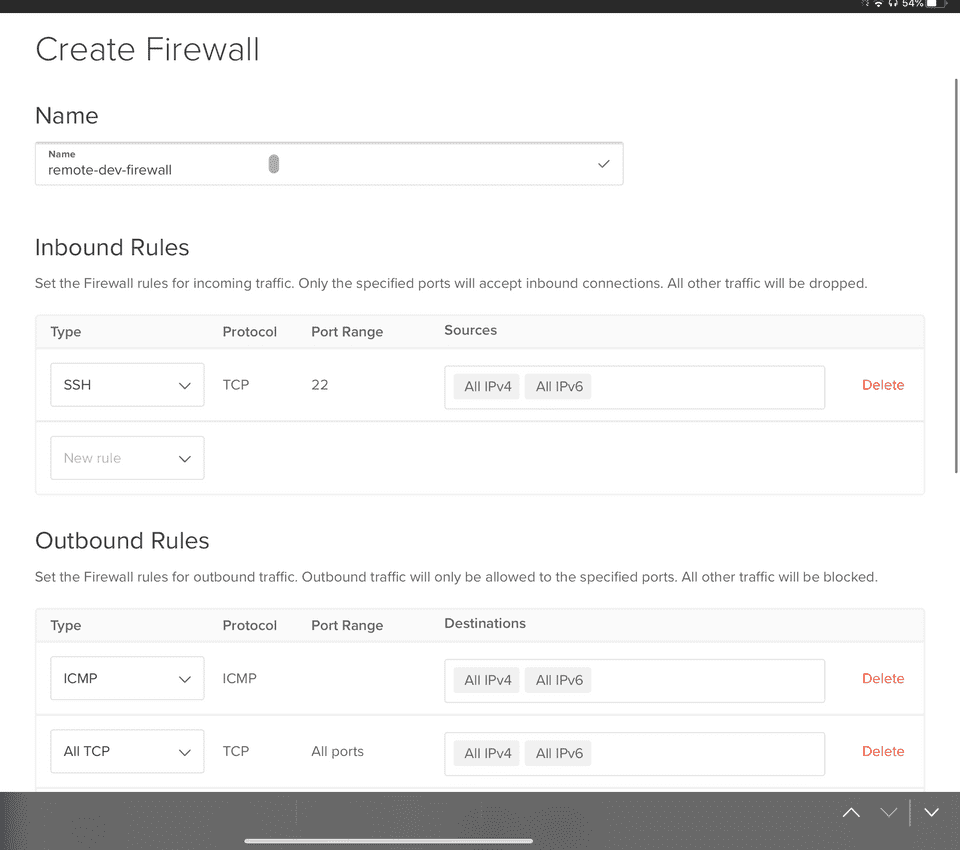
Enter a name for your firewall , the firewall will have some defaults already set, such as the port for ssh connections, and some default outbound rules.
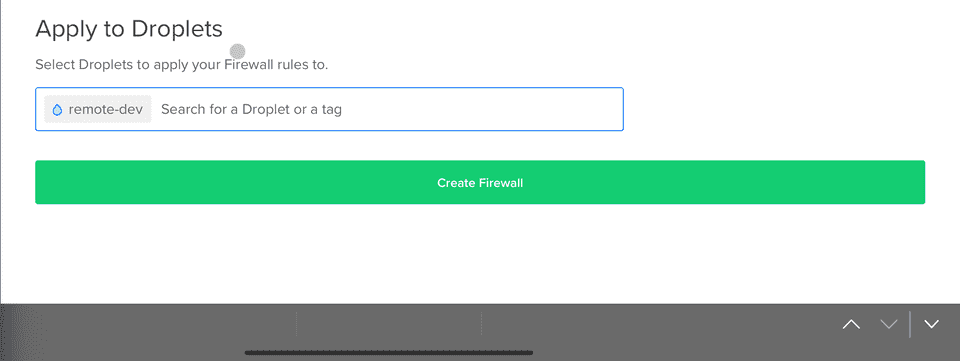
Leaving the default Config in place for now, scroll to the bottom of the page, search for your droplet using the droplet name or tag then select create firewall.
Now with your firewall created , go back to blink shell and attempt to reconnect to your VPS with mosh and you should receive an error message that mosh is unable to connect - perfect our firewall is working.
In order to use move we need to setup a rule to let mosh connect through ports 60000:60020 through a UDP connection. To do this go back to your firewall configuration in digital ocean and add another inbound rule, select Custom, Protocol - UDP with the ports listed above.
Click Save to update.
Now if you go back to blink and connect with mosh you should be able to access without any firewall issues.
Non Root User
Lastly after configuring your firewall and mosh setup, we should then add a non root user account that we will use from now on to log into the VPS.
To do this once you are logged in as root, type the below commands, replacing remote-user with your choosing username
adduser remote-userWhen asked, enter a new unix password for the user, then retype the password you choose, you will then see a screen similar to the below asking you to select the user config, go ahead and fill in this data, or you can choose to leave it blank, select yes when asked if the config is correct.
Now we need to add the newly created user to our sudo group using the command below, replacing remote-user with the username you choose above
usermod -aG sudo remote-userFinally we need to allow our user to connect to the VPS using SSH . Providing you setup your root user account with SSH, the easiest way we can do this is to sync the ssh keys between users. When logged in as the root user, run the command below, replacing remote-user with the name of your newly created user
rsync --archive --chown=remote-user:remote-user ~/.ssh /home/remote-userNow all that is left to do is to sign out as your root user and sign back in with your newly created user account
mosh remote-user@your.ip.addressNote - digital ocean has a great write up and adding new users to the VPS in their tutorial pages which is really useful for debugging issues.
And that’s it, you can now successfully shh into to your Digital Ocean Droplet with your IPad Pro!
did you find this useful? i’ve had alot of fun setting up my ipad for development over the last few months, i do everything from project planning, managing websites/servers to writing blogposts on my ipad. If you would be interested in finding out more about how i use my ipad , send me a message on twitter @brossco85 and i’ll be happy to do a write up!
